27th Dec 2024
How to Achieve the Perfect Fade Haircut with Shears
The fade haircut is one of the most popular and versatile styles, combining precision with creativity. While many stylists use clippers to create a fade, mastering the fade with shears offers unmatched detail and refinement, making it the hallmark of a true professional. Here's a step-by-step guide to achieving a flawless fade using Shear Fanatic™️ Scissor Company tools.
Why Choose Shears for a Fade Haircut?
Using shears instead of clippers allows for:
- Precision blending: Shears give you full control over how hair transitions from long to short, ensuring a smooth, natural gradient.
- Custom texture: Add texture and movement to the fade for a polished look.
- Versatility: Shears are ideal for working around intricate areas, such as cowlicks or uneven growth patterns.
Shear Fanatic™️ Scissor Company offers a variety of professional tools tailored for achieving the perfect fade, including:
- Single Swivel Shears: For ergonomic comfort and precision.
- Double Swivel Shears: Ultimate flexibility for intricate blending.
- Dry Cutting Shears: Ideal for finishing touches on dry hair to perfect the fade.
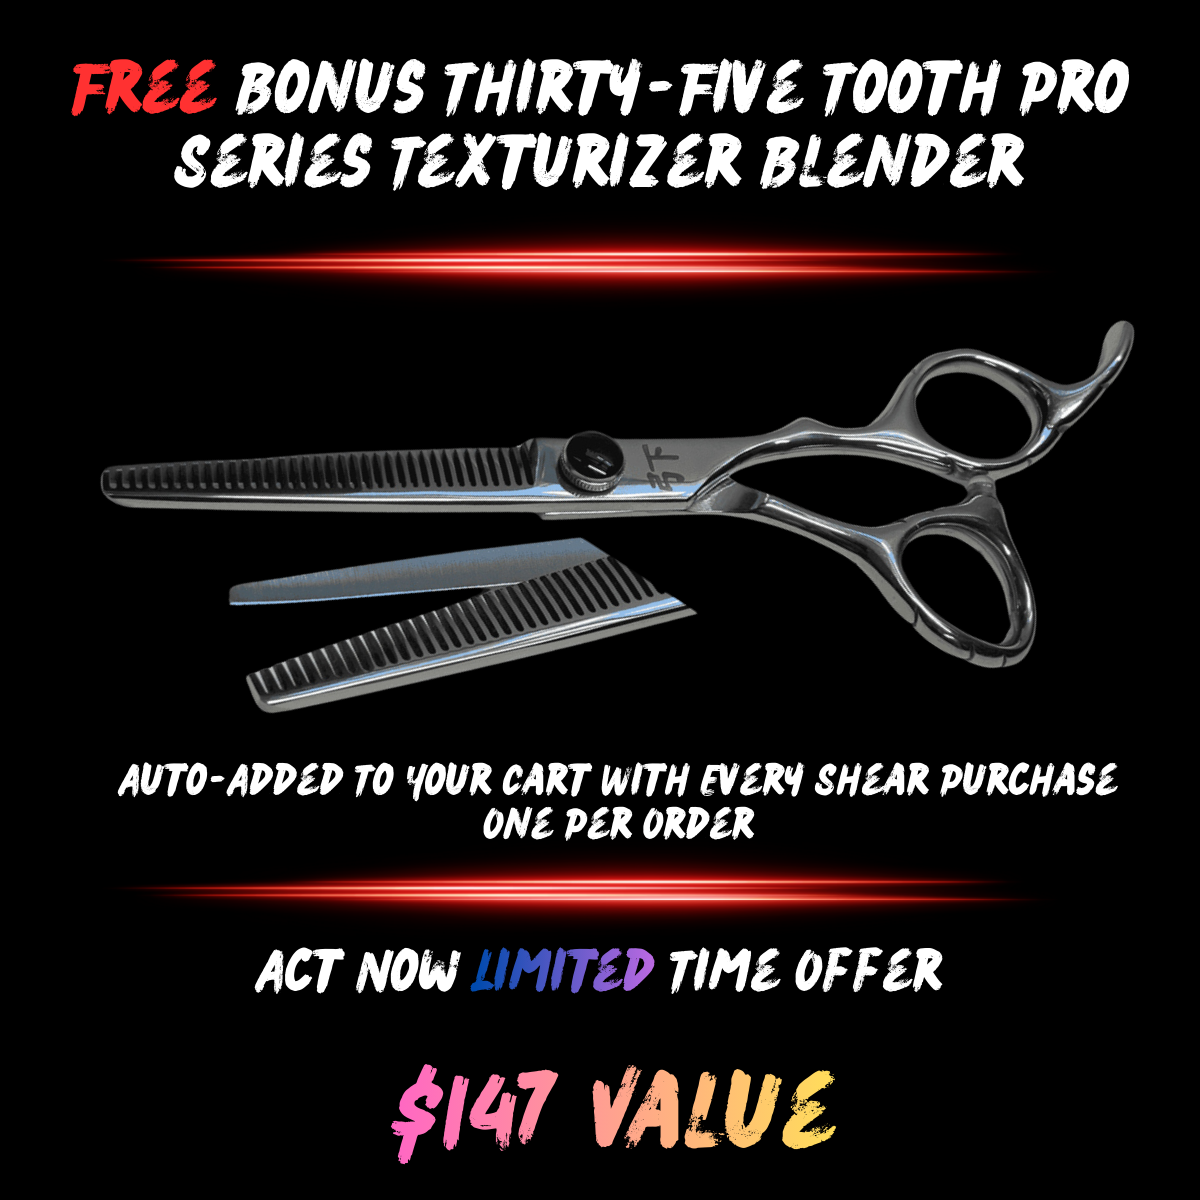
- Texturizing Shears: Create soft, blended layers and remove bulk seamlessly.
Step-by-Step Guide to a Perfect Fade Haircut with Shears
1. Prepare the Hair
- Shampoo and condition the hair to ensure it’s clean and manageable.
- Towel-dry and detangle the hair for a smooth cutting process.
2. Section the Hair
- Divide the hair into clear sections using clips, focusing on the top, crown, and sides.
- Determine the length and fade gradient your client wants (low, mid, or high fade).
3. Create the Guideline
- Begin with your single swivel shears and comb to establish the fade’s foundation.
- Use a steady hand to cut a straight line around the sides and back where the fade begins.
4. Start Blending
- Use your texturizing shears to soften the transition between lengths.
- Work in small sections, blending from the shortest point to the longer sections on top.
- Hold the hair at different angles to ensure an even blend.
5. Add Detail with Point Cutting
- For a more natural finish, use dry cutting shears to point-cut the edges of the fade.
- Pay attention to areas near the temples and nape for clean lines and precision.
6. Finishing Touches
- Style the hair to match the client’s preferences (sleek, messy, or textured).
- Reassess the fade under good lighting to ensure a seamless gradient.
Pro Tips for Mastering a Shear Fade
- Invest in Quality Tools: A fade is only as good as the tools you use. Shear Fanatic™️'s ergonomic and durable shears, such as the double swivel shears, make blending and cutting a breeze.
- Control Bulk with Texturizers: Remove excess weight without compromising the overall look with Shear Fanatic™️'s texturizing shears.
- Practice Consistent Tension: Use the same tension when cutting to avoid uneven transitions.
Why Stylists Choose Shear Fanatic™️ Scissor Company
At Shear Fanatic™️, we pride ourselves on offering a wide variety of shears to suit every stylist’s needs. Whether you’re a seasoned barber or a stylist perfecting your craft, our products ensure:
- Unmatched Comfort: Swivel designs reduce strain on the wrist and fingers.
- Versatile Options: From dry cutting to texturizing, we have a scissor for every task.
- Lifetime Warranty: All our shears come with a lifetime guarantee against manufacturer defects.
Final Thoughts
Mastering the fade haircut with shears is a skill that sets you apart as a professional. With the right tools and techniques, you can create flawless fades that leave your clients coming back for more.
Visit Shear Fanatic™️ Scissor Company to explore our wide selection of professional shears, including single swivel, double swivel, dry cutting, and texturizing shears. Take your haircutting skills to the next level today!


